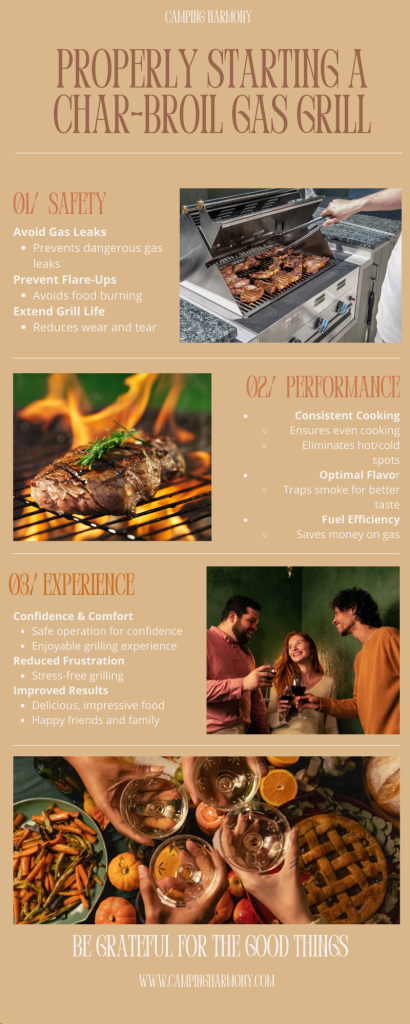
How To Start A Char Broil Gas Grill – Ready, Set, Grill!
Getting started with a gas grill can be a little overwhelming, looking at all the knobs, settings, and options. It would be amazing if you could have an easy start and become a master at cooking on your own Char-Broil gas grill. Fortunately, starting a Char-Broil gas grill is a fairly simple process if you follow the right steps.
In this article, we will walk you through every essential step for starting your Char-broil gas grill like a pro. This guide provides detail from setup to ignition and even some pro tips for maintaining consistent heat for that perfect sear. Let’s stirs up a mix of excitement and slight anxiety among many outdoor cooking lovers.
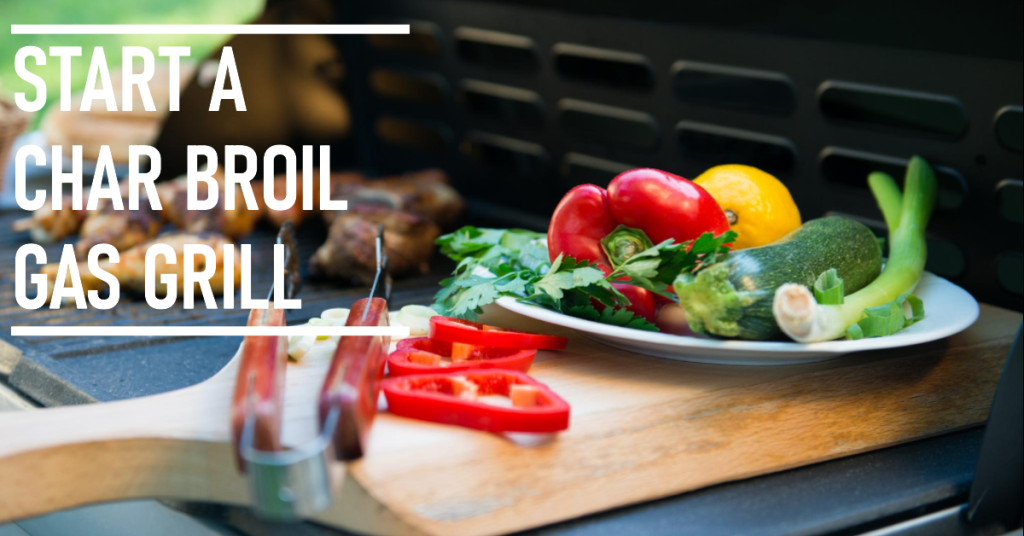
Table of Contents
show
SAFETY FEATURES ON CHAR-BROIL GAS GRILLS
If you are looking for a new grill or just own one, here’s a breakdown of key safety features to consider:
Ignition Smarts:
- Electronic Ignition: This feature say goodbye to flare-ups with a simple push-button or knob twist. For a regulated and safe start-up, most Char-Broil models include dependable electronic ignition systems that light each burner separately.
- Crossover Ignition: Say goodbye to dangerously close quarters! If one burner on a Char-Broil grill burns out, the system will ignite the burners next to it automatically to avoid gas leaks and other shocks.
Lid-Lifting :
- Balanced Lids: Don’t try to wrestle with a big lid! Char-Broil grills often have lids that are balanced and have spring-assisted opening systems that make it easy to open and close. This keeps the heat inside and keeps you safe.
THE ADVANTAGES OF USING A CHAR-BROIL GAS GRILL
Some advantages involve needing less time to heat up, more precise temperature control, and more consistent heat distribution. With a gas grill, you can save a lot of time waiting for the charcoal to heat up, moreover you can also easily control the temperature to fit your cooking needs.
✔ Faster Cooking Time
✔ Consistent Cooking
✔ Easy Cleanup
✔ Variety Cooking options
Additionally, users claimed that it is easier for a gas grill to clean up and maintain compared to other types of grills, and there is less risk of flare-ups. However, there are those who argue that charcoal grills provide a distinct smoky taste that gas grills cannot replicate.
Gas grills are also more versatile than electric grills, with the ability to cook with direct and indirect heat and to use wood chips and other accessories for added flavor. Last but not least, Char-Broil gas grills are known for their durability and longevity.
Gas grills come with various features, and one of the common questions people have is about the utility of side burners. If you’ve ever wondered, Is a Side Burner on a Grill Worth It?, we have an article that dives deep into its advantages and use cases.
HOW TO START A CHAR BROIL GAS GRILL
All the steps in the process of starting a Char-Broil gas grill are important, as they are necessary for safe and effective use of the grill. Here are step-by-step on how to break in a new gas grill:
- Open the lid of the grill and turn the burner control knob(s) to the “high” setting.
- Press the igniter button repeatedly until the burner(s) light. If the burner does not light, turn off the burner control knob and the propane tank valve, and wait for a few minutes before trying again.
- Once the first burner is lit, turn on adjacent burners to cross-light them.
- Close the lid and allow the grill to preheat for 10-15 minutes before placing food on the grates.
- Adjust the temperature according to your cooking needs, using the burner control knob(s).
However, Step 1, which involves ensuring that the propane tank is properly connected and turned on, is particularly important, as a gas leak can be dangerous. It’s essential to make sure that all connections are secure and that there are no leaks before lighting the grill.
All the other steps in the process, such as preheating the grill, make a gas grill hotter, and turning off the grill properly, are also necessary for proper use and maintenance of the grill
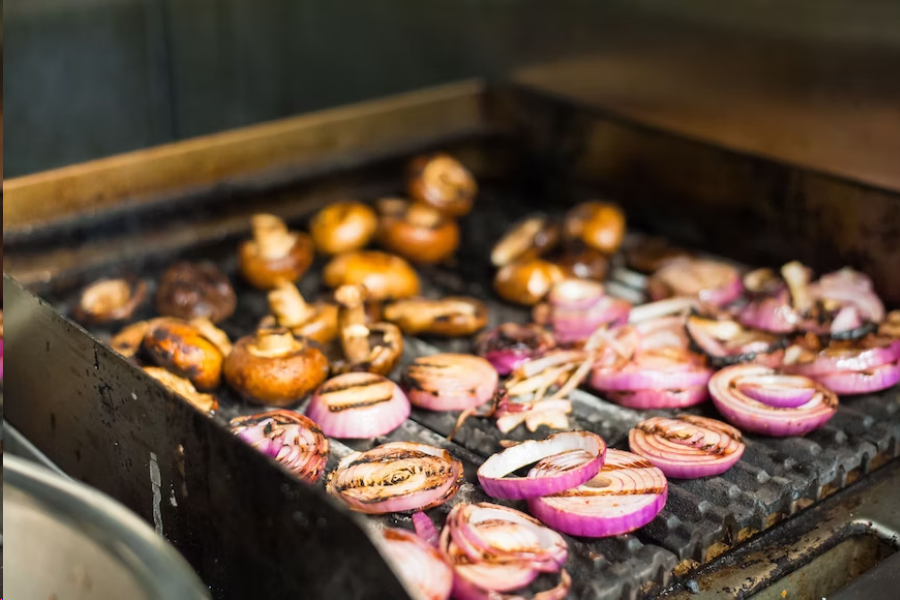
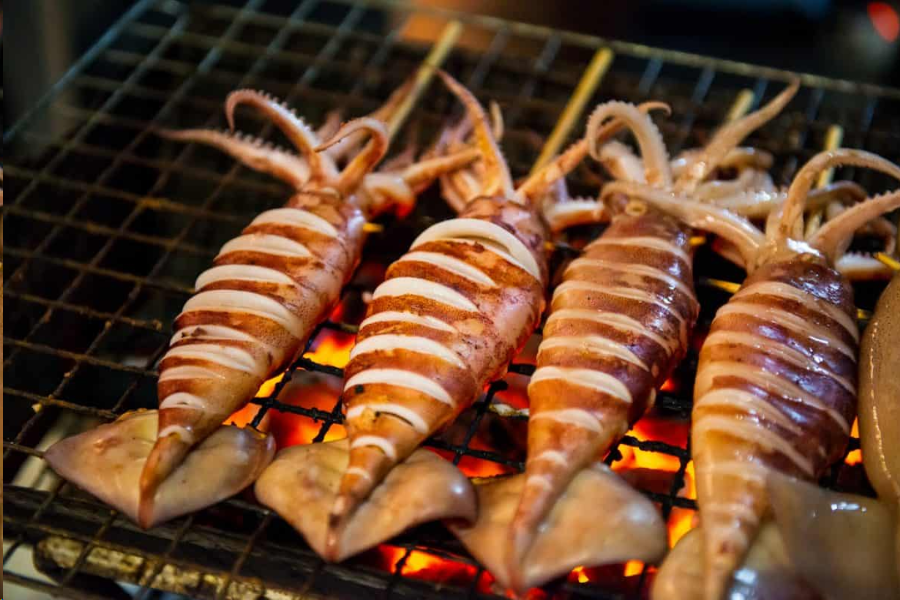
DIFFERENT HEAT ZONE FOR GRILLING
High fire zone
The high heat zone is suitable for boiling quickly, frying and cooking dishes that require powerful heat.
Place the pot or pan over high heat.
Make sure the bottom diameter of the pot or pan matches the fire zone to optimize cooking performance.
Medium fire zone
The medium heat zone is suitable for stir-frying and cooking dishes that require medium heat.
Place the pot or pan over medium heat.
Make sure the bottom diameter of the pot or pan matches the fire area to ensure even cooking temperature.
Low fire zone
The low heat zone is suitable for reheating and frying, frying dishes that need to be cooked evenly and eye-catching.
Place the pot or pan over low heat.
Make sure the bottom diameter of the pot or pan matches the fire zone for precise temperature control.
Fire off area
The fire zone is when you reverse off the gas stove in a certain area.
Place the pot or pan over the off heat to keep cooked food warm.
COMMON ISSUES AND HOW TO TROUBLESHOOT THEM
Common issues and troubleshooting tips that Char Broil gas grills can encounter and impact their performance:
Familiar Flame & flow Problem
The excess flow valve tripped.
If you have gas, you may have tripped the excess flow valve. So, turn off the control and tank knobs and wait 30 seconds. Turn on the tank valve slowly, then light the grill according to lighting instructions. If the flames are still low, repeat this process up to three times. If this process fails, the excess flow valve may have become stuck in the regulator, and the regulator will need to be replaced.
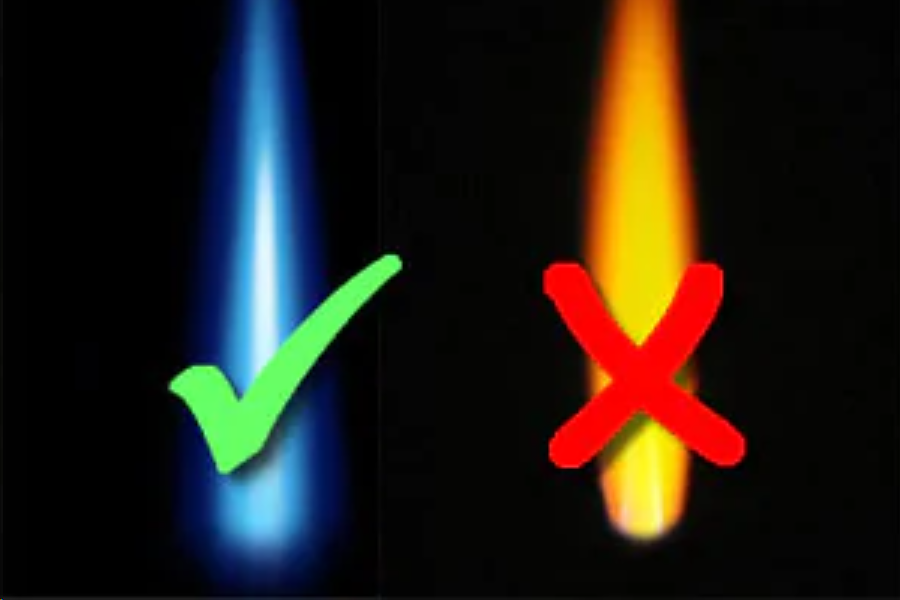
Yellow flames instead of blue
The most common cause of yellow flames is low gas pressure from the regulator. Another frequent cause of yellow flames, you may have a propane leak. Try testing for a leak.
Yellow flames can be a sign of incomplete combustion, which means that the fuel is not burning efficiently. This can be caused by a lack of oxygen, improper air-to-fuel ratio, or a clogged burner.
Poor ventilation in the grilling area can lead to yellow flames. Make sure there is sufficient airflow around the grill to allow for proper combustion.
Typical lighting and ignition troubleshooting
Why won’t my gas grill light up?
There are many reasons why your gas grill isn’t lighting. Make sure to check the burners, ignition battery, electrode wires, and the propane tank. If your grill won’t light, it could be because you’re lighting the wrong burner. See instructions on the control panel of your grill and in your manual.
Make sure that the ignition battery is not dead (not wet, oxidized, or slightly corroded). If it is, you’ll need to replace your igniter battery. Lastly, if your grill won’t light, it could be because you have dirty electrode terminals. Clean them with rubbing alcohol and a clean cotton swab.
Tips for maintaining and cleaning the grill
To keep your gas grill in working order, you are going to have to spend a little time maintaining it. There are two cycles to your maintenance program:
Every Time
Preheat your grill completely every time you turn it on. This cleans and disinfects your gas grill. Brush cooking grates to remove residue and give yourself a clean cooking surface.
Once a year
If you really are packing your grill away for the season, close it and disconnect the gas supply. Remove the propane tank from the grill and place it in a safe, ventilated area. Cover the grill and put it in a sheltered location.
ACCESSORIES THAT CAN ENHANCE YOUR GRILLING EXPERIENCE

There are many accessories that can enhance your grilling experience, depending on your needs and preferences. Some of these accessories include:
- Grill brushes and scrapers: These tools help to remove residue and debris from the grates, ensuring a cleaner cooking surface.
- Cast iron grates: These grates retain heat better than standard grates, resulting in better searing and cooking performance.
- Meat thermometers: These tools help to ensure that your meat is cooked to the correct temperature for safety and optimal flavor.
- Grill lights: These lights make it easier to see the food while grilling in low-light environments, such as at night or in shaded areas.
- Rotisserie attachments: These attachments allow you to cook meats evenly and consistently while allowing the meat to self-baste.
Look for grill accessories that are made from high-quality materials and are built to last. Consider how easy the accessories are to use and clean. Look for features like Stainless steel, heat-resistant materials, non-stick coatings and dishwasher-safe options.